Apple Worm Strategy Guide: Critical Moves, Turnarounds, and Getting Unstuck Faster
Apple Worm is not a “fast reflex” game. Most failures happen because you spend an option without realizing it: you drop to a lower platform too early, you eat an apple that changes your length at the wrong time, or you use your body as a bridge and accidentally block your exit route.
This guide explains the patterns behind those mistakes and gives you a repeatable way to recover. If you want level-by-level help, use the full index at Walkthrough Guide and open a step-by-step page when available (for example Level 16, Level 19, Level 21).
The Core Rule: Protect Your Turnaround
A “turnaround” is any position where you can still reverse direction safely. In Apple Worm, a turnaround is more valuable than an apple. If you lose your last turnaround, the level becomes unwinnable from that state even if you can still move.
What a safe turnaround looks like
- You can rotate without falling into a one-way pit.
- Your tail does not seal the only corridor you need later.
- You can move away from the turnaround without committing to a permanent drop.
A good checkpoint is a stable posture you can compare against. In many levels, matching the critical frame saves more time than replaying the entire route.
Quick check (before you move)
Ask one question: “If I go there, can I still come back?”
If the answer is “not sure”, treat it as dangerous and look for a safer setup first.
Irreversible Drops: The #1 “I Was Fine Until…” Moment
Apple Worm levels often hide a one-way decision: a drop you can’t climb back from. These drops are not always obvious because you can still move after dropping—until you later realize you needed the higher ground to push a block, reach an apple, or align with the exit.
How to handle drops correctly
- Delay the drop until you’ve collected everything that requires the higher area (apples, blocks, alignment space).
- Prepare your landing so you keep a turnaround after dropping.
- Know your exit path before you commit—don’t drop into a corridor your tail will fill.
Before an irreversible drop, aim for a position you can recreate reliably. If you miss it, back up early—late fixes cost more moves.
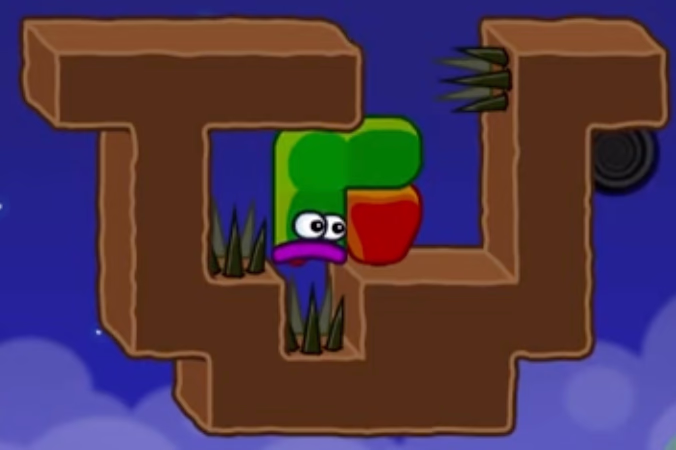
Apple Order Is Strategy (Not Convenience)
Eating an apple increases your length, and length changes everything:
- You become better at bridging gaps, but worse at tight turns.
- Your tail becomes a wall that can trap you.
- Your body can hold blocks in place—or prevent you from reaching them.
A simple way to choose apple order
Use this rule: eat apples that unlock space last.
- If an apple makes you longer in a cramped area, delay it.
- If an apple is required to reach the exit height, plan when that extra length is safest.
- If an apple is behind a one-way drop, treat it like a “commitment cost”: you may not return.
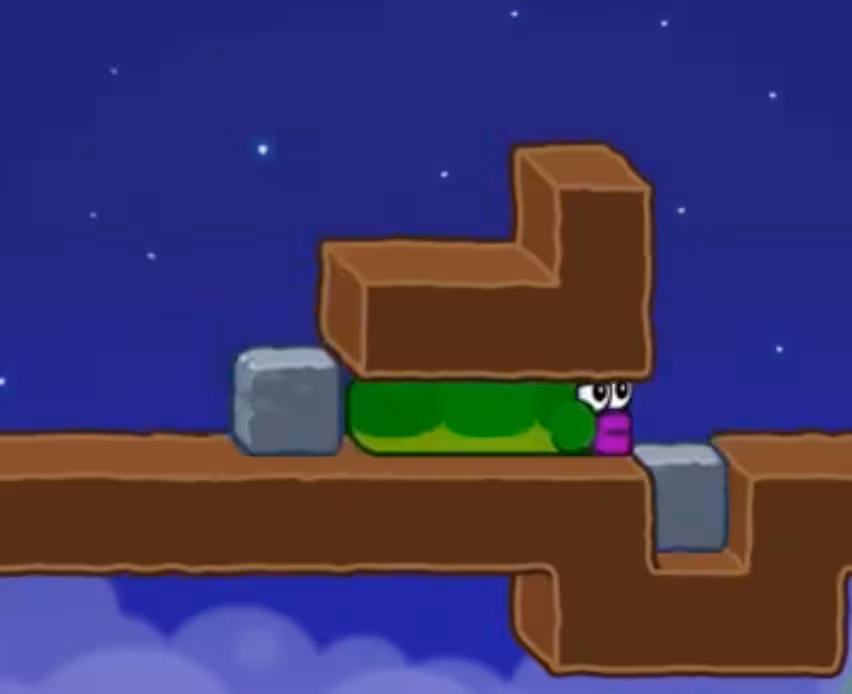
Your Body Is Both a Bridge and a Blocker
Most “hard” levels are about using your body as a tool:
- Bridge: span a gap with your body to cross.
- Anchor: hold position so you can push a block without sliding.
- Blocker (accidental): seal your own corridor or cover the exit tile.
The bridge rule
Build a bridge only when:
- you can still leave the bridge without sealing your path, and
- you already know where your head needs to end up to reach the exit.
A safe bridge keeps the exit route open. If your body becomes the wall that closes the route, it’s a dead end even with perfect moves.
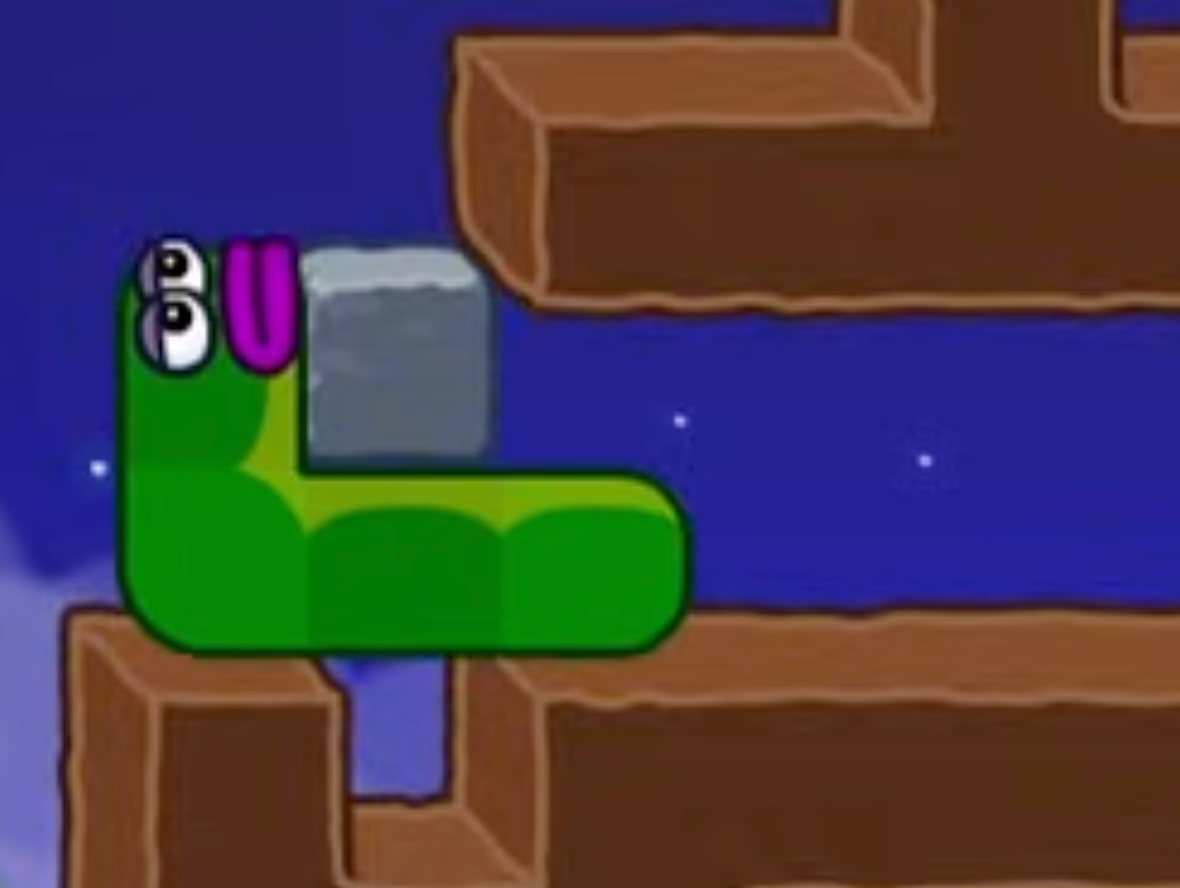
Block Levels: Think in Roles, Not Moves
In block-heavy levels, blocks usually play one of three roles:
- Ladder (height)
- Bridge (crossing)
- Final alignment tool (push/stack to reach the exit)
The typical trap: using a block for the wrong role too early makes the later role impossible.
If you want a concrete example of this “roles” idea, Level 16 is a good reference: the critical step is not “move fast”, it’s “place the bridge in the dirt pit so the ladder role remains available later”.
The “Critical Move” Method: How to Get Unstuck Fast
When you’re stuck, don’t restart immediately. Instead, try to identify the single decision that flips the level from solvable to unsolvable.
Step 1: Find the last safe checkpoint
A checkpoint is a posture where:
- you still have a turnaround, and
- you have not committed to the irreversible drop yet.
Step 2: Identify the critical move
The critical move is usually one of these:
- a block placement that creates a permanent bridge/ladder,
- an apple that changes your length at the right moment,
- a drop that you can’t undo.
Step 3: Compare your screen to a key frame
That’s why many step-by-step pages on this site include “key frames”: your goal is to match the frame, not to memorize every input.
Try these pages if you want examples of key frames + short fixes:
A Practical Checklist (Use This Every Time)
Before you commit to a move that feels “progressive”, run this checklist:
- Turnaround: Do I still have a place to reverse direction?
- Drop: Am I about to fall somewhere I can’t climb back from?
- Apple order: Will getting longer here reduce my options?
- Exit route: If I move forward, can my tail block the corridor I’ll need?
- Bridge: If I span a gap, can I still leave the bridge without sealing the exit path?
- Block roles: Am I spending a “ladder/bridge” block too early?
If any answer is uncertain, slow down and rebuild a safe checkpoint first.
Common Failure Modes (and Fast Fixes)
“I can move, but the exit is impossible”
Cause: the exit path is blocked by your body (often your tail).
Fix: back up to the last checkpoint where your body was not sealing the corridor and redo the approach with a different turnaround position.
“I dropped and now nothing works”
Cause: irreversible drop before collecting what the upper area was for.
Fix: restart only to the point right before the drop, then re-check apple order and block roles.
“I got longer and now I’m stuck in a tight area”
Cause: apple eaten too early in a cramped region.
Fix: plan a route that keeps a turnaround available after growth (often by delaying the apple or changing the direction you enter the pocket).
Next Steps
- For a fast index of every level video: Walkthrough Guide
- For key-step screenshots + explanations (when available), open the individual level pages linked from the guide.