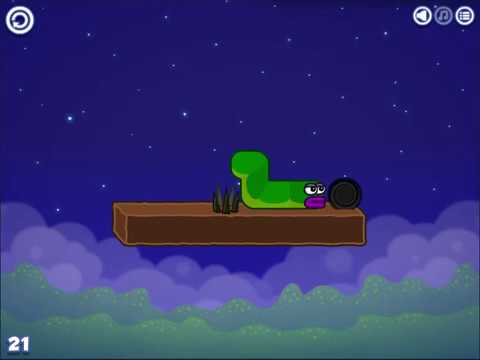
Apple Worm Level 21 Walkthrough
Apple Worm Level 21 is a precision level with only four moves, so “almost right” tends to fail. The key frames here are the real trick: Step 1 shows the exact spike-side alignment, Step 2 shows the exact two-step setup, and then you let the drop happen before finishing with a small adjustment to the right.
Video Walkthrough (Click to Play)
More walkthroughs: Apple Worm All Levels Guide
Quick Navigation (Video ↔ Steps)
Apple Worm Level 21 is easiest to compare against the video because the route is short. Use Step 1 (spike-side alignment with the apple) as your anchor, then use Step 2 (exactly two right moves) as the second checkpoint. If either checkpoint doesn’t match the key frame, don’t continue to the drop.
When you watch the video, pause at Step 1 and Step 2 first. Once your screen matches those two frames, Step 3 (natural fall) and Step 4 (down one, then right) usually play out exactly the same.
Step-by-Step Guide
Use Step 1 and Step 2 as “frame checks,” then let the drop happen and finish with the last small adjustment.
Quick Steps
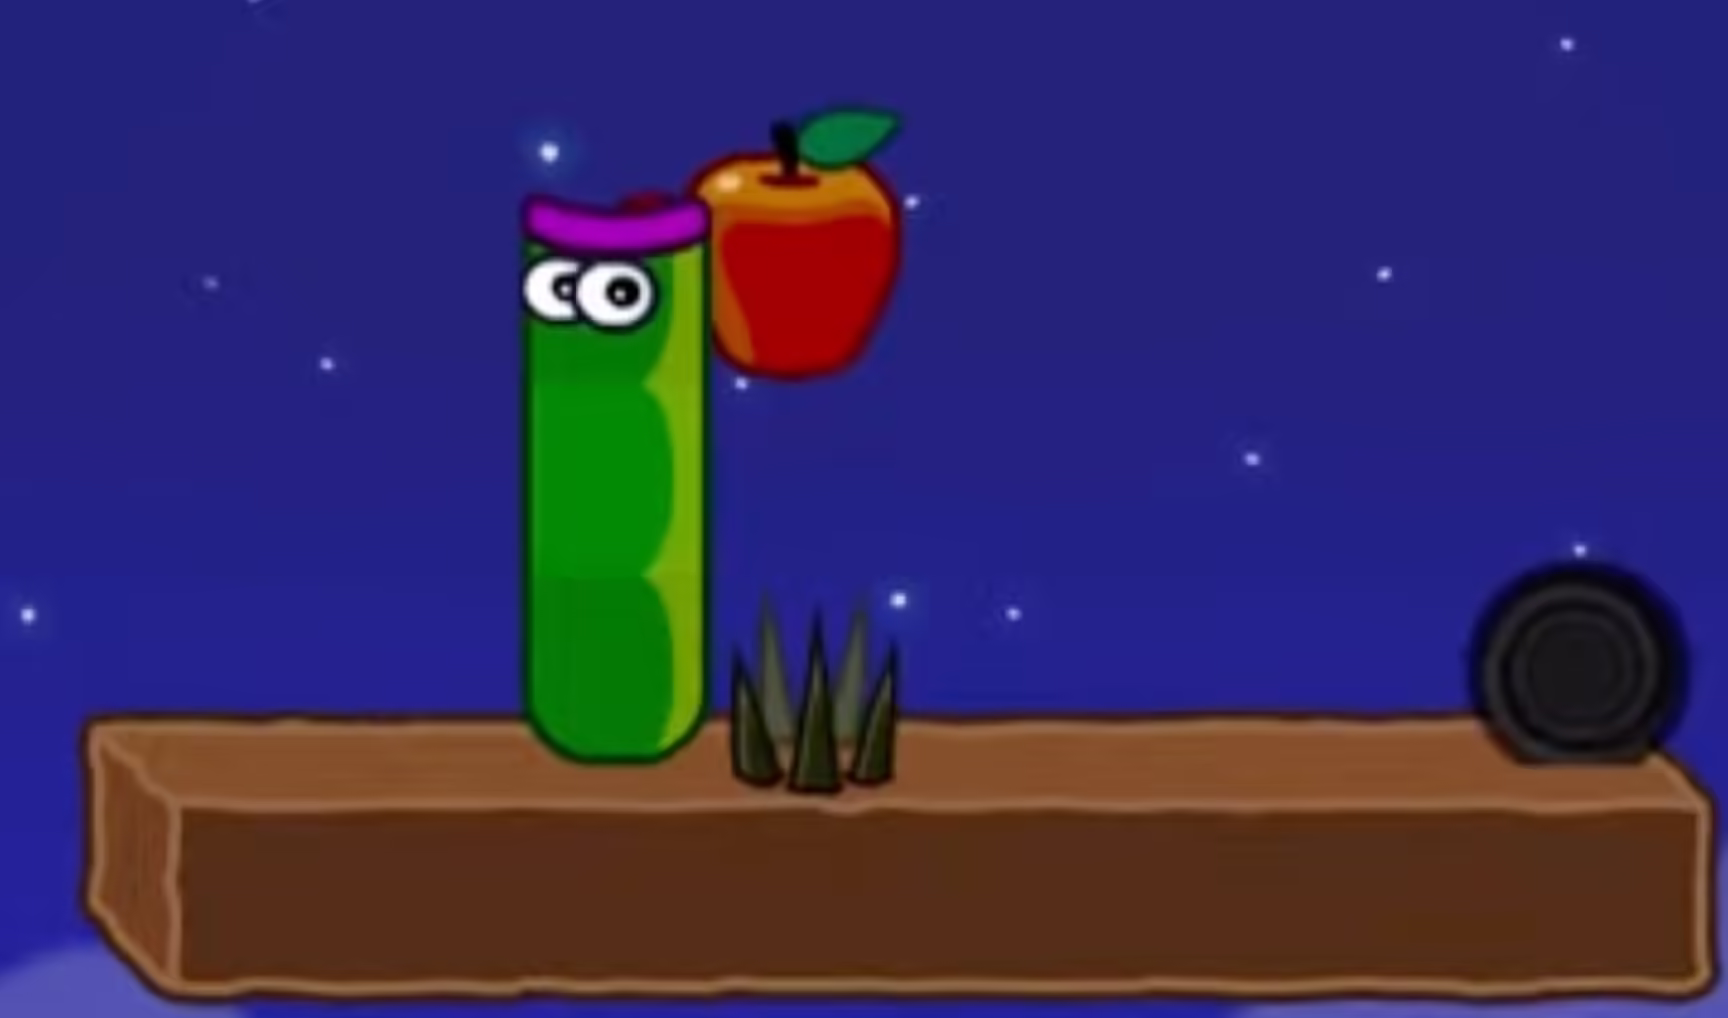
- Move next to the spikes, then go up until you align with the apple.
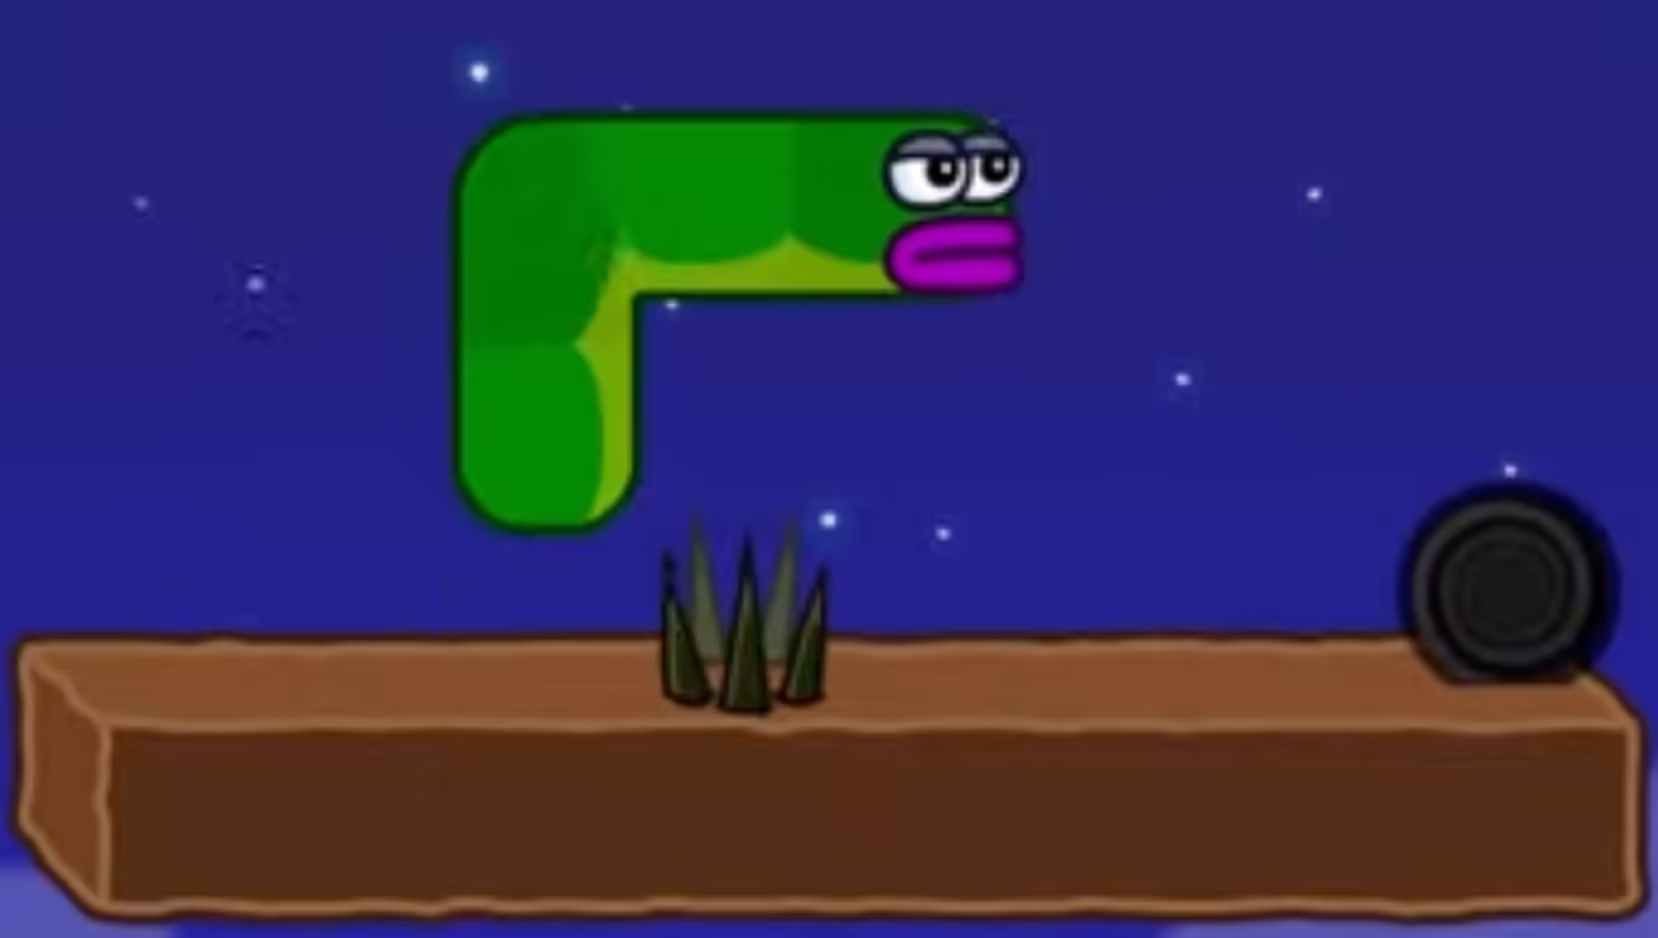
- Move right two steps.
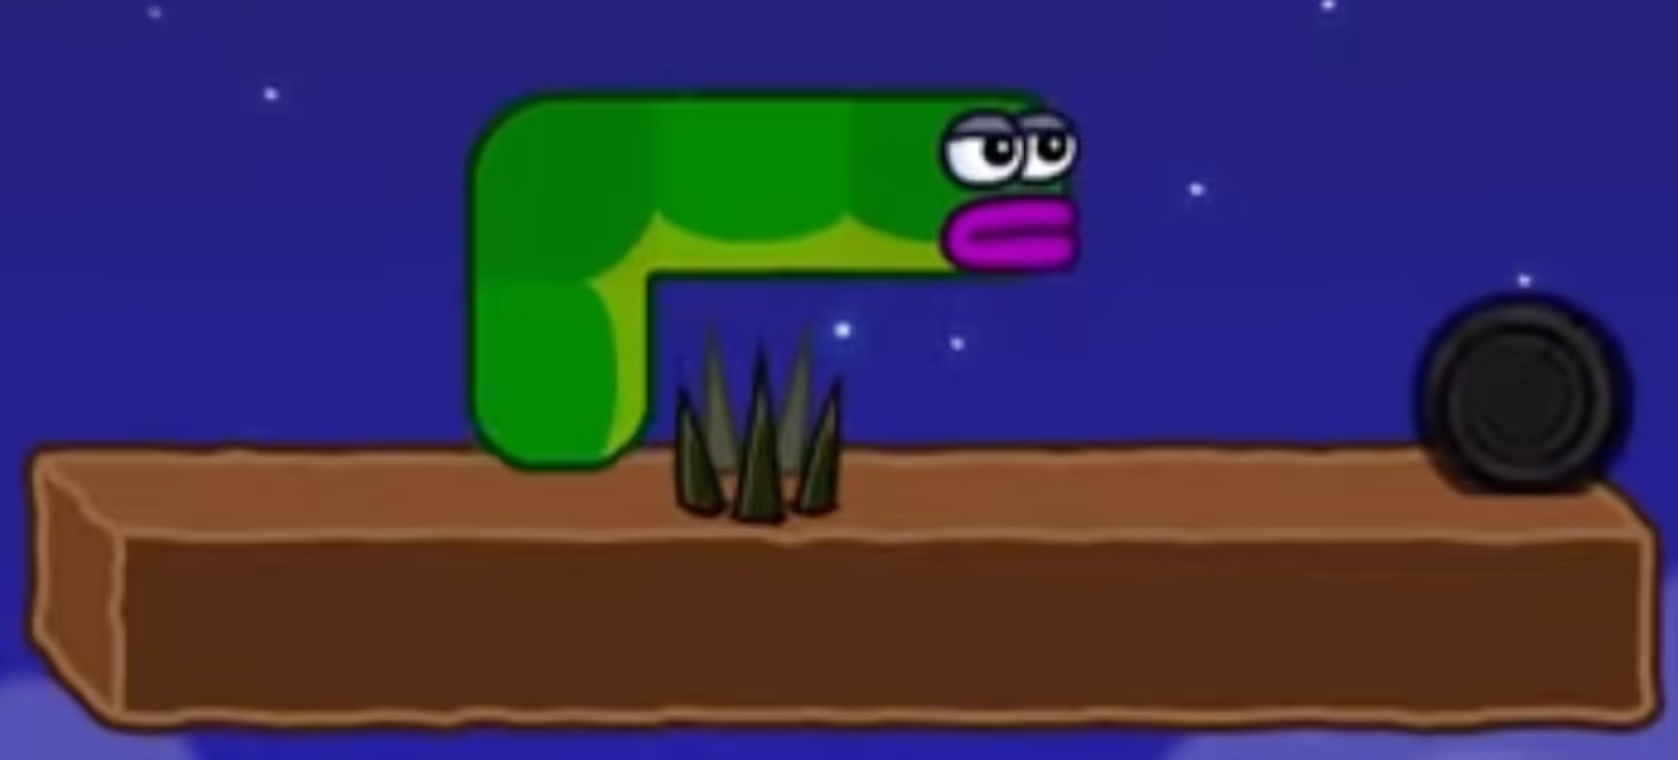
- Let the worm fall naturally and land safely.
- Move down one step, then move right to clear the level.
Key Frames
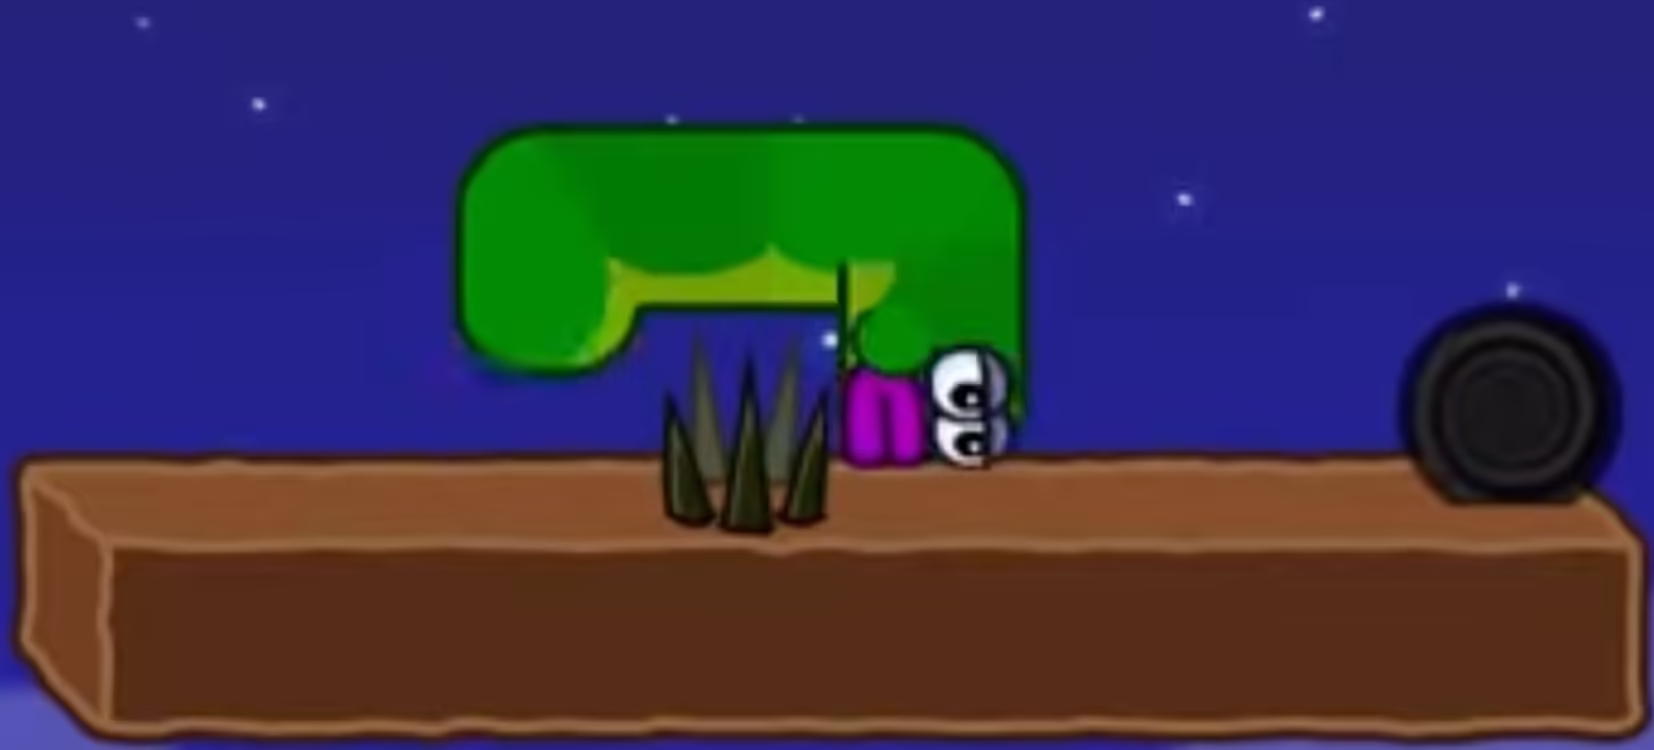
Level 21 Focus: Spike Alignment and a Clean Drop
This Apple Worm Level 21 walkthrough is deliberately short, but it’s not “easy.” The difficulty is that Step 1 and Step 2 are positioning steps: if your alignment is off, the rest of the route won’t match the images. Treat the key frames as checkpoints—once your screen matches, the fall and the finish become consistent.
The Critical Move in Level 21 (Step 1)
Step 1 is the most important instruction in the entire level: “Move next to the spikes, then go up until you align with the apple.” The alignment part is what matters, not the number of up presses. If you start Step 2 while you are one position higher or lower than the Step 1 frame, the “move right two steps” setup won’t produce the same drop shown in Step 3.
Why These Four Steps Work Together
- Step 1 gives you a clear visual reference: spikes on the side and the apple as the target alignment.
- Step 2 is exactly two moves to the right, placing you into the intended pre-drop spot without extra adjustments.
- Step 3 is a natural fall; once Step 2 is correct, you can let the worm drop and land safely as the frame shows.
- Step 4 is the finish: a single down step, then a right move to clear the level.
Common Mistakes (and Quick Fixes)
- Step 1 never “looks right”: stay next to the spikes first, then move up until your position matches the Step 1 key frame (use the apple alignment as your guide).
- You moved right more than two steps in Step 2: back up and redo Step 2 as exactly two right moves from the Step 1 alignment.
- The fall doesn’t match Step 3: re-check Step 2; if your pre-fall position doesn’t match the Step 2 image, redo Steps 1–2.
- Step 4 misses the exit: confirm you moved down only one step before moving right, as written in Step 4.
Reset Checkpoints (Save Time)
- After Step 1: this is your alignment checkpoint; don’t continue until the key frame matches.
- After Step 2: if anything feels off, correct it here before you take the drop in Step 3.
Troubleshooting (Stuck?)
- I can’t line up with the apple (Step 1): keep the spikes as your reference, then move up until your position matches the Step 1 image.
- I moved right but the drop looks wrong (Step 2–3): redo Step 2 as exactly two right moves from the Step 1 alignment.
- The landing isn’t “safe” (Step 3): compare your pre-drop position to the Step 2 frame; fix Step 2 first.
- I miss the finish (Step 4): make the down move once, then go right to clear the level.
- Video not playing: Open direct link: Watch on YouTube